

Master Data vs Transaction Data in the Store App
Almost every first-week confusion with a repair shop app ends at this concept. Settings prepares choices that change only occasionally, while operational menus record activity that repeats every day.
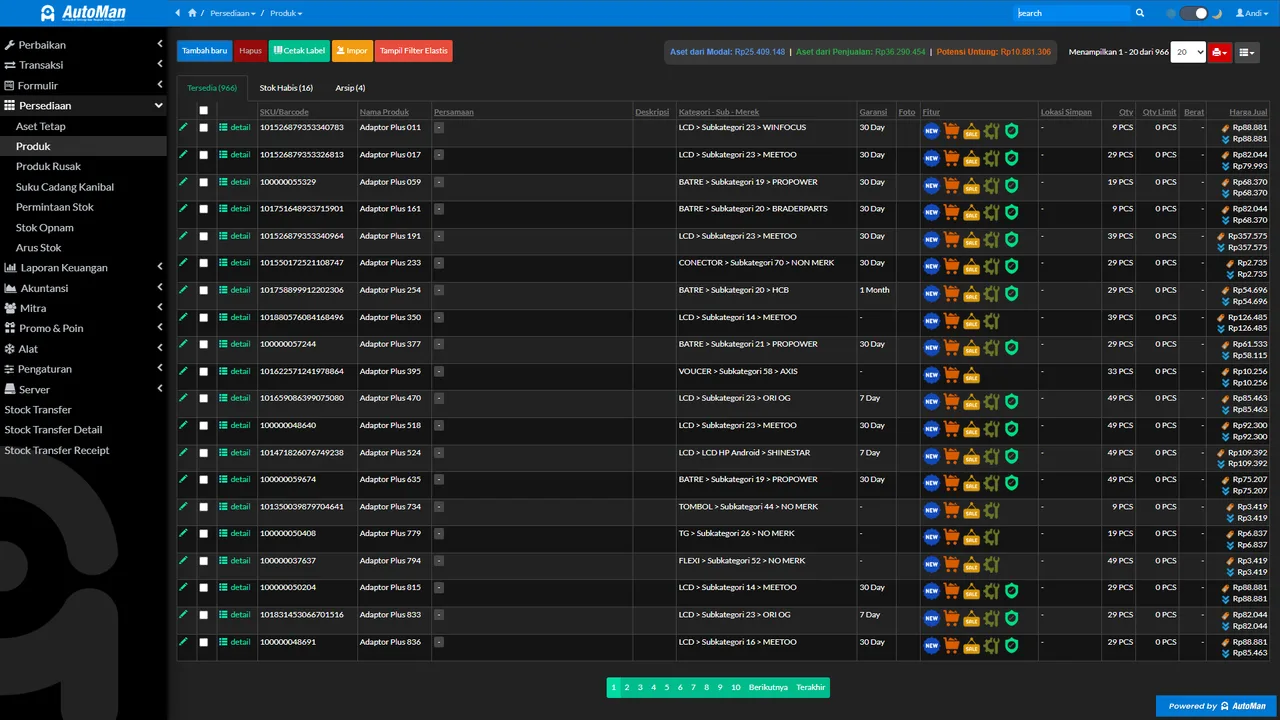
This short tutorial explains the difference once — so every other tutorial (repairs, sales, purchasing) makes sense in its order.
Before you start
- A Store App already exists (Create a Store App tutorial).
Steps
-
Meet the two families of data in the Store App
The easiest distinction is location and frequency. Master data lives inside Settings and is entered once during setup or changed occasionally. Transaction data lives outside Settings in operational menus and is recorded routinely whenever shop activity occurs.
Master Data

Master Data: lives inside Settings and changes only when shop needs change. Transaction Data

Transaction Data: lives outside Settings and is recorded routinely as shop activity occurs. -
Master data: inside Settings and changed occasionally
Examples include Item Types, brands, accessories, issue types, services, payment channels, and other shop rules. These are prepared during setup and only added or corrected when shop needs change. Their values then appear in transaction forms.
-
Transaction data: in operational menus and recorded routinely
Repair intake under Repairs, sales, purchases, payments, payroll, and expenses are transaction data. They live outside Settings because new records are created repeatedly as shop activity happens.
-
Why the order matters: master first, transactions after
When Settings is incomplete, transaction forms feel empty because required choices are unavailable. Tidy master data lets routine transactions use consistent selections and produces more trustworthy reports.
-
Practice: check master readiness before the first transaction
Complete the minimum Settings and repair master data first. Once the basic choices are ready, use the operational menus outside Settings to record repairs and other routine transactions.
What you end up with
You can tell which data needs preparing once (master) and which is born from daily activity (transactions), so the setup order is right: tidy masters first, smooth transactions after, clean reports as the result.
If something goes wrong
Brand/issue/service choices are empty when recording a repair
That's the sign master data isn't filled yet. Open the repair master settings and complete them first — see the Repair Master Data tutorial.
Product or customer names duplicated with different spellings
A symptom of transactions entered before the masters were tidied. Clean up the masters (merge/correct), then make picking from master data the habit instead of typing new entries.
Afraid of filling the masters wrong at the start
Master data can be added and changed anytime through Settings — start with only the most-used entries; the rest can follow via quick-add during transactions.