

The Repair Flow from Intake to Pickup
Many assume a repair app’s flow must be long. Automan is the opposite: the flow follows what happens in your shop. An express fix done in five minutes? There’s a one-step path. An overnight unit needing tidy documentation? There’s a full path where every phase is recorded.
The diagram below shows both paths using the app’s own button labels (the app UI is in Indonesian — “Tambah cepat” = Quick Add, “Diambil” = Picked Up):
⚡ Jalur Kilat — Tambah cepat
Untuk unit yang langsung dikerjakan dan selesai saat itu juga.
Selesai Belum Diambil
🛠️ Jalur Lengkap — Tambah
Untuk unit yang antri atau menginap — 4 langkah inti.
The two paths aren’t two different apps — both end in the same data: stock deducted automatically, reports filled, warranties recorded. The only difference is how much you need to type that day.
Before you start
- The repair master data is filled — see the Repair Master Data tutorial.
- The repair-intake tutorial is understood, for the full path.
Steps
-
Meet the two input doors: Quick Add vs Add
Automan deliberately has two paths. Quick Add for express repairs worked and finished on the spot (screen protector installs, quick flashes). Add for units that queue or stay overnight. See the flow graphic above — pick the door matching what's happening at your counter, not the other way around.

Two input doors: pick by what's happening at your counter. -
The express path: Quick Add — done in 1 or 2 steps
Open Repairs → List → Quick Add, fill the customer, unit, and work in one pass. The key is the Picked Up option: "Yes" when the unit goes straight home — one step, settled. "No" when it is collected later — the unit joins the Done, Not Picked Up list, leaving a single handover step. Every field and the payment panel are covered in the Quick Repair Entry tutorial.

The "Picked Up" option = the key: Yes (1 step) or No (2 steps). -
The full path — step 1: receive the unit and issue the receipt
Open Repairs → List → Add and record the unit completely (details in the repair-intake tutorial). Once saved, the unit joins the queue automatically — ordered by arrival time or priority criteria per the shop's settings.

The full path starts from the intake receipt; the queue orders itself. -
Step 2: the technician takes the job
In Repairs → Jobs, the technician presses Take Job then Work This Item. The unit's status flips to In Progress — from this second it's clear whose hands the unit is in.

Once taken, it's clear whose hands the unit is in. -
Step 3: write work logs — one entry or many, your call
Still in Repairs → Jobs, press the (+) button in the Work Records section to add a log. A simple shop needs one log — "LCD replaced, success". A shop that wants documentation can log every phase: initial check, part replacement, final test — no limit. This is where parts and services attach, and these logs are the warranty basis and the technician-commission basis. Filling them in is covered fully in the Work Records tutorial.

Work logs: one entry or per-phase detail — your choice. -
If the cost exceeds the estimate, stop here
Never carry on quietly. Stop at awaiting confirmation and call the customer before continuing — this is the one stage that must wait on somebody else. The confirmation stage tutorial covers how.

New part (Product) or used (Salvage) — stock deducts automatically. -
Unit done → tell the customer
Once the work is complete, the unit joins the Done, Not Picked Up list. If the shop's WhatsApp is connected and the Send WA option is on, the "it's ready" message goes out automatically with the receipt.

Success + services per the shop's scheme; confirm if costs changed. -
Step 4: handover and payment
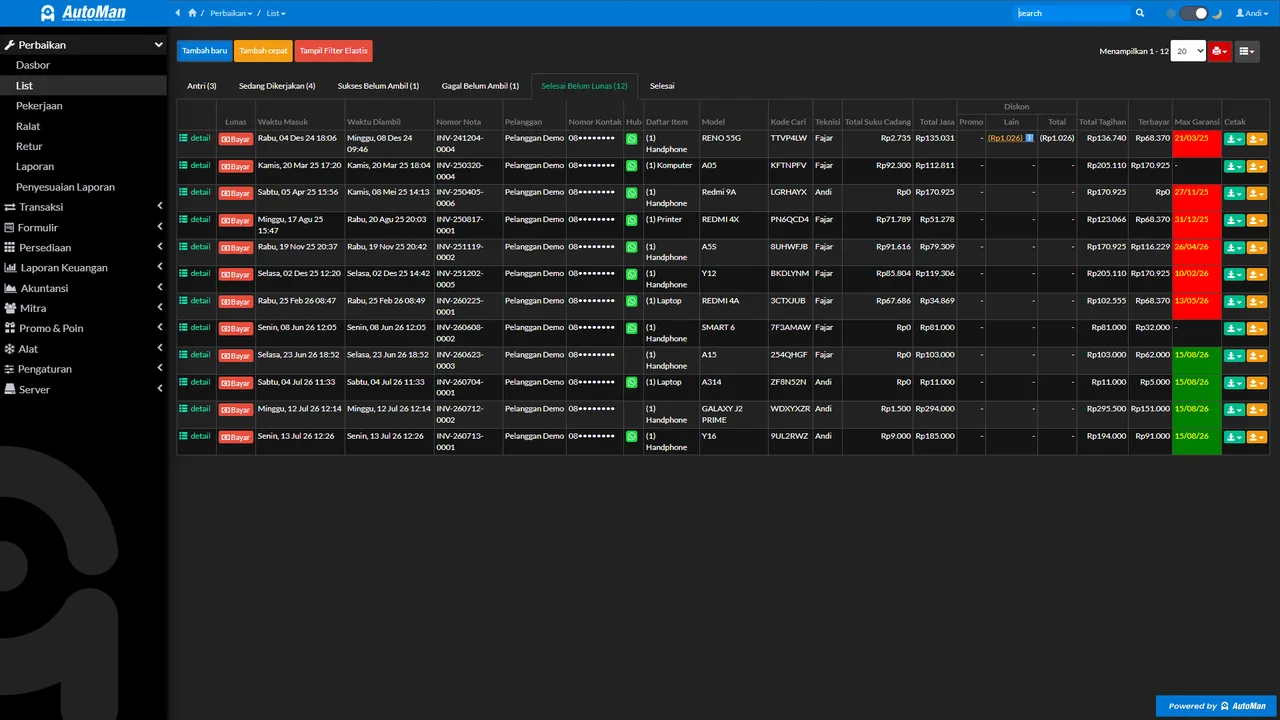
Handover only unlocks once the unit holds a final status (repaired successfully or not). In Repairs → List, open the Done, Not Picked Up list and click Take. Choose the payment method (cash/card/transfer), add a discount if one was agreed. Paid in full = Settled; paid partially = the remainder is recorded as a receivable automatically.

Done → the customer hears automatically when WA is on. -
Print the pickup receipt — history and warranty saved
Print the pickup receipt from the popup (or skip it if not needed). The unit is now Done: its data flows into reports and dashboards automatically, the warranty starts running, and the history is searchable whenever the customer returns.

Full payment = Settled; partial = the receivable records itself.
What you end up with
You know when to use Quick Add (1–2 steps) and when the full 4-step path applies; units finish with payment, a pickup receipt, auto-deducted stock, a running warranty, and reports filled without manual recaps.
If something goes wrong
The handover button doesn't appear
Handover only opens once the unit reaches a final status. Make sure the technician filled the work log and marked its status — a unit still In Progress can't be handed over.
Work logs can't be added after pickup
That's deliberate — after handover, the job data locks so the final record can't change quietly. Corrections go through the traceable correction flow.
The deposit exceeds the final bill
The difference shows as change at handover — no manual math needed.